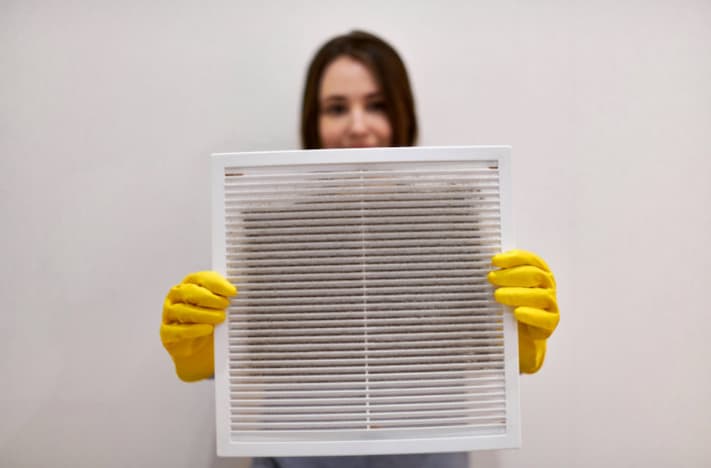
Over time, dryers vent lint into the ductwork, which can heavily accumulate and severely restrict airflow. Dryer vent cleaning helps clothes dry quicker, eliminates fire hazards from excessive lint buildup, prevents mold growth from moisture accumulation, and extends your dryer’s lifespan.
DIY dryer vent cleaning saves money compared to calling professional duct cleaners. The following are the most critical steps to help in a successful Toronto dryer vent cleaning project.
- Disconnect The Dryer And Inspect The Entire Duct
Start by unplugging the dryer from the power source for safety. Avoid pulling too hard on the electrical cord. Turn off the circuit breaker as well.
Then, detach the flexible aluminium or vinyl vent pipe from the dryer’s exhaust outlet to access the entire duct length. This requires unscrewing the clamp or metal tape holding it in place.
Use a bright flashlight or headlamp to look down the entire duct length to check for blockages. Look for sections with significant lint accumulation, kinks and bends, rips, or disconnects. Damage like wide gaps or tears will require duct replacement or repair.
Also, note the duct’s routing through the home. It may run through crawl spaces, inside walls, above ceilings, or under floors before exiting the house.
- Vacuum Out All Loose Lint And Debris
Attach the narrow, long hose attachment to your vacuum cleaner. Put the vacuum into blower mode if possible.
Starting at the dryer outlet end, insert the hose into the duct and vacuum slowly on high suction to remove all loose lint clinging to the interior duct surfaces. Move gradually outward in 3-5 foot sections, following the duct’s path as far as the hose can reach.
Use one hand to manipulate the hose side-to-side while the other guides the vacuum body along the duct’s exterior. Having a partner makes this easier. Covering each section systematically avoids missing spots.
- Scrub All Surfaces With A Vent Brush
After vacuuming the full duct length, use a specialized plastic or metal dryer vent lint brush to scrub interior duct surfaces. This helps scour off stuck-on lint that vacuuming alone can’t remove. Work in the same gradual sections from the dryer end, moving outward through the entire duct.
Scrubbing with the stiff bristles sweeps out additional lint from crevices that the vacuum couldn’t reach. It also dislodges particles stuck to duct surfaces with static cling or condensation. Scrubbing before re-vacuuming gets the system as clean as possible.
- Vacuum Again To Extract Loosened Lint
Once you’ve scrubbed the entire interior with the vent brush, go back through the duct with the vacuum hose. The second pass removes the lint and debris dislodged by scrubbing.
Maintaining the same direction from dryer to vent termination ensures you get everything as you go. Thorough vacuuming after scrubbing leaves ducts almost like new inside.
- Clean The External Vent Hood Outside
Once you’ve thoroughly vacuumed and scrubbed the entire hidden duct from the inside, clean the outside vent hood termination where lint also builds up. Vacuum all around the hood opening first. Use the vacuum crevice tool to clean inside mesh screens.
Use a small brush or old toothbrush to dislodge stuck-on lint from the external vent hood’s sides and base. Getting the termination grill clean improves airflow and prevents back-drafting. Thorough exterior vent cleaning removes all damp, moldy lint accumulation.
- Remove And Clean Vent Pipe Sections
Disassemble all sections after cleaning internally for plastic or metal ribbed vent pipes. Use a hose on gentle spray to rinse vent pipe segments outdoors to remove lingering debris. Allow drying thoroughly before reassembling so moisture doesn’t feed mold growth.
- Check Airflow Improvement
Securely reconnect the flexible aluminium or vinyl vent pipe to the dryer exhaust outlet. Run the dryer empty on a short high heat cycle and feel for solid airflow from the outdoor vent termination. If airflow seems weak, repeat the internal cleaning process, focusing on stubborn areas. Powerful airflow means lint buildup has been eliminated.
- Tidy Up Around The Dryer
Now that the Toronto dryer vent cleaning is complete, use the vacuum hose to remove any lint scattered around the dryer, surrounding floor, and behind the appliance during cleaning. Use a damp, lint-free cloth to thoroughly wipe down the dryer’s exterior case and control panel to remove dust and residue.
